Vaperz Cloud Asgard 2 RDA dripper

Tank: BF compatible (supplied with BF pin) - Diameter: 28 to 30 mm
Type: RDA - Number of coils: Mono or dual coil - Draw: Direct
Level: Expert
- Calumette, the world's only ISO 9001-certified vape retailer
- Loyalty reward
- Payment by credit card, cheque
- You will be notified by SMS when order shipped
Vaperz Cloud Asgard 2 RDA dripper
Vaperz Cloud Asgard 2 RDA dripper
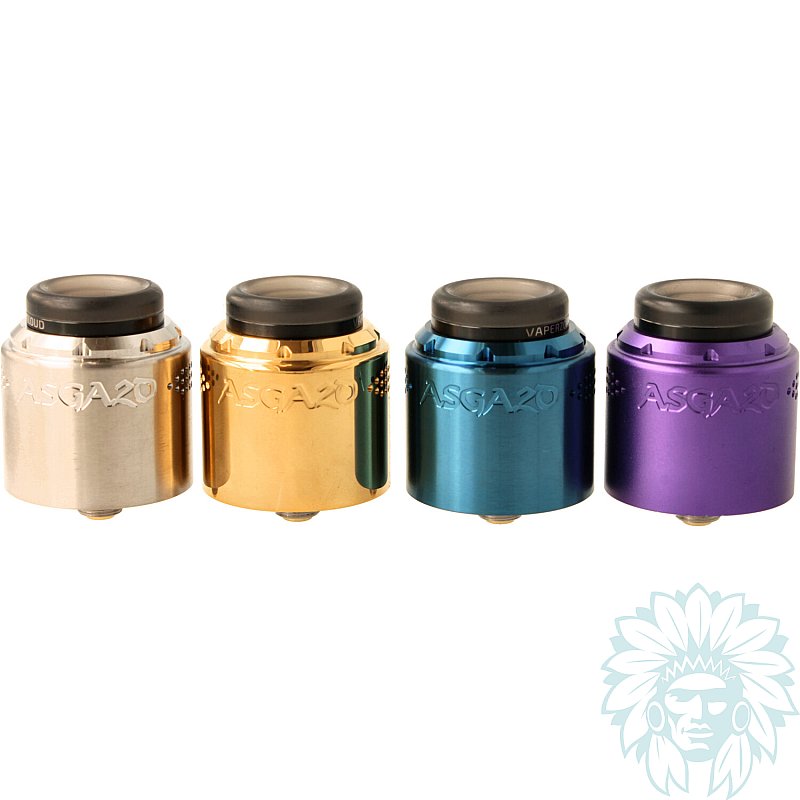
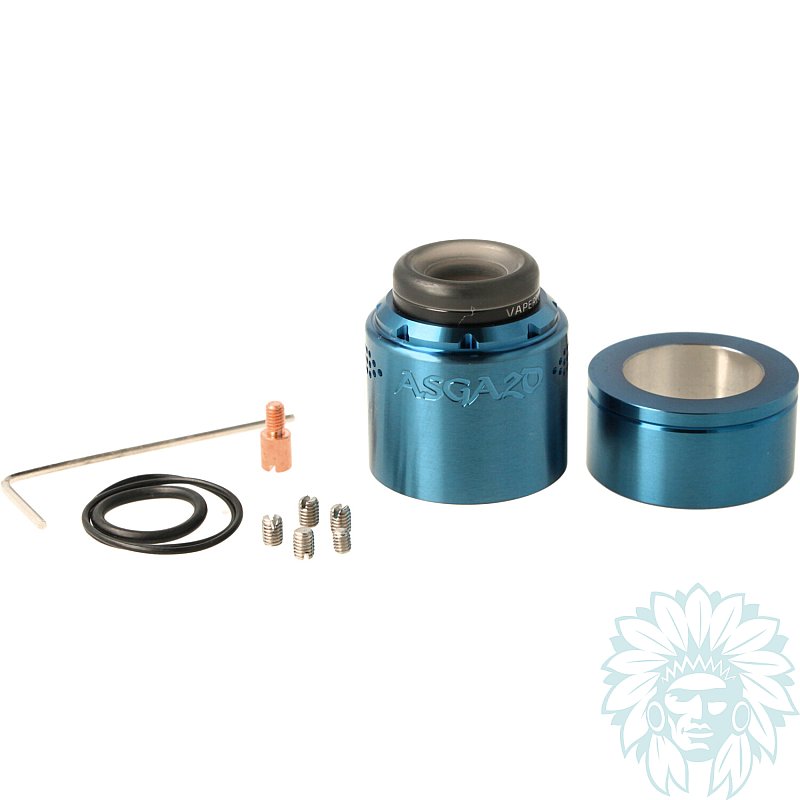
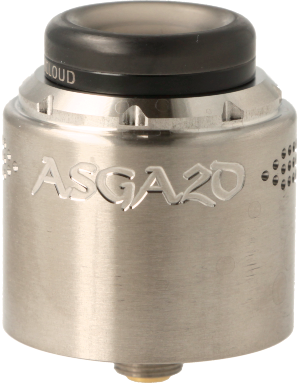
Vaperz Cloud presents the Asgard 2 RDA dripper, a model with an impressive 28 mm diameter that perfectly combines generous dimensions with a compact, modern design. Sold with a beauty ring, its diameter reaches 30 mm, making it ideal for use with the largest and most powerful boxes.
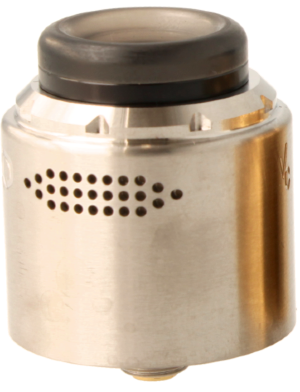
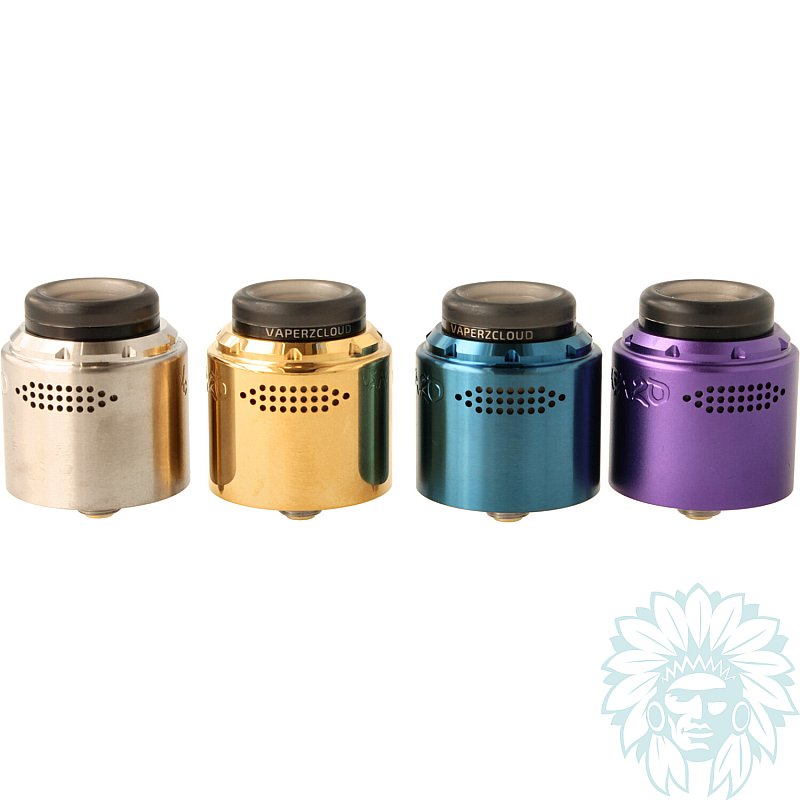
Honeycomb airflow
Its adjustable airflow, made up of 2 inlets with 27 honeycomb cells, supplies the dripper with air for a tighter or looser draw. The air circulates over the coil, optimising the mixing of the flow for a better vape experience.
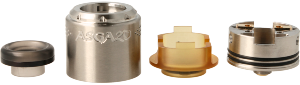
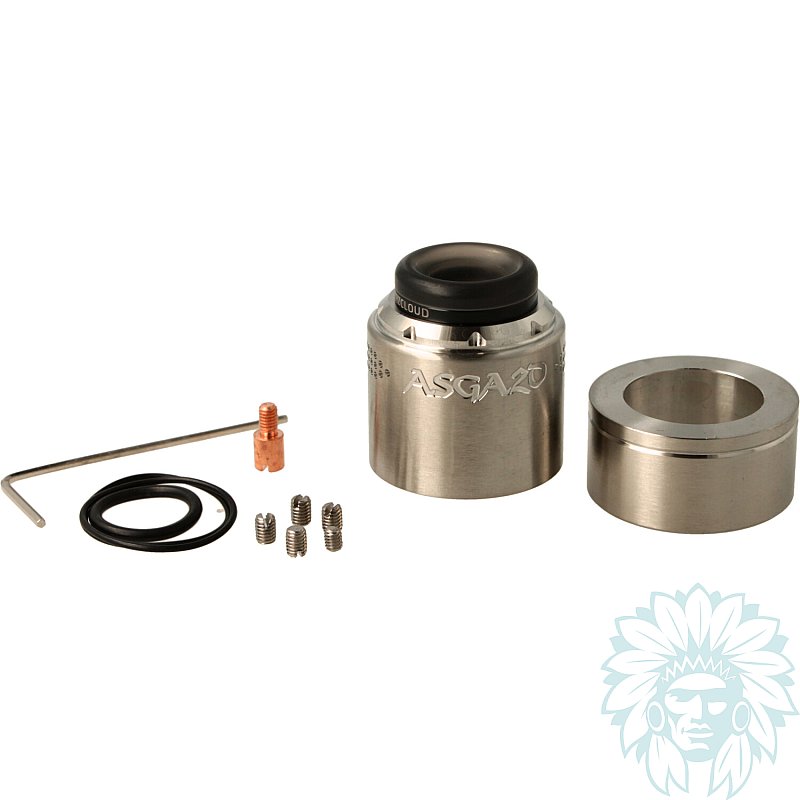
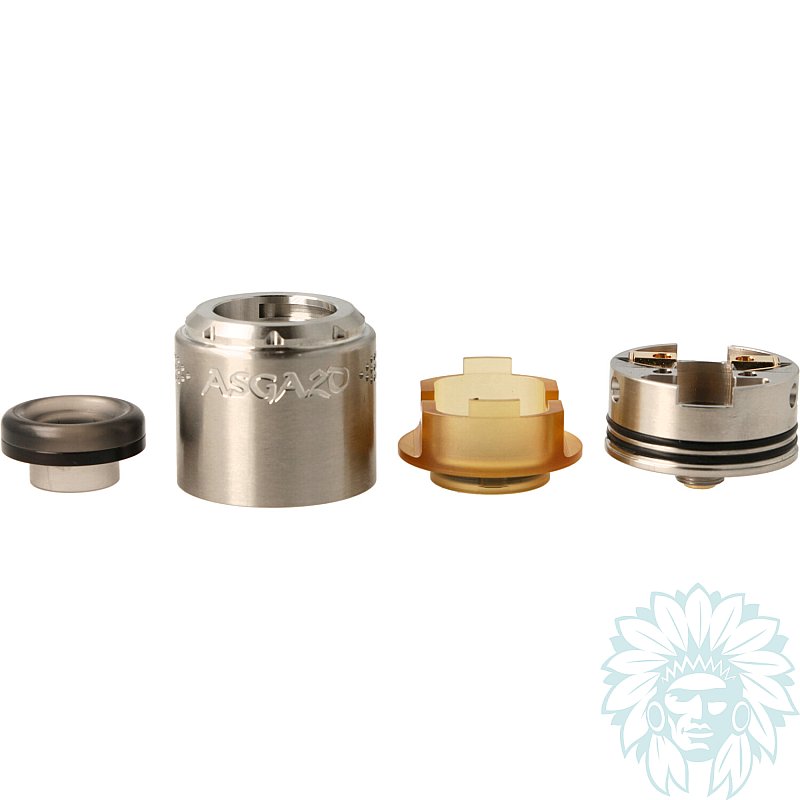
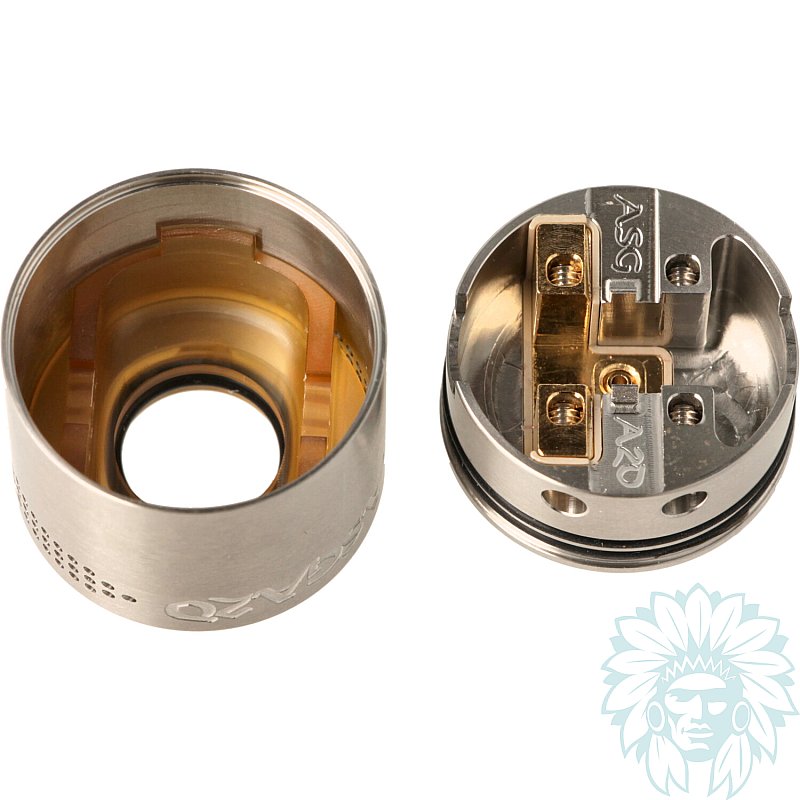
Disassembled Asgard 2 RDA atomiser bell
The 810 drip tip at the top ensures an airy, powerful draw, while an Ultem chamber reducer above the tank helps to reduce the temperature, providing greater comfort and more accurate flavour reproduction.
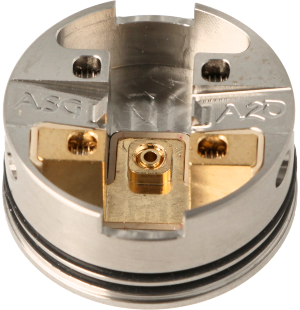
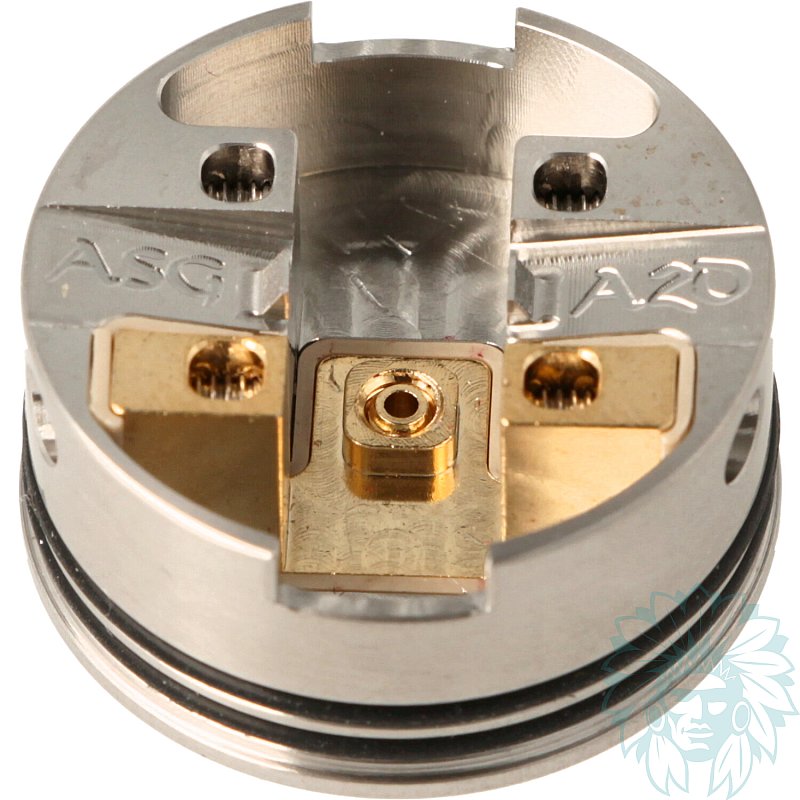
Semi-postless tray
The semi-postless tray provides easy access to the clamping screws and facilitates the installation of large coils. It is designed to accommodate two coils side by side, guaranteeing optimal vaping. What's more, the 2 24K gold-plated posts ensure improved conductivity.
The Asgard 2 has an extra-wide 10 mm tank, making it easier to cotton and keeping the cotton soaked for longer.
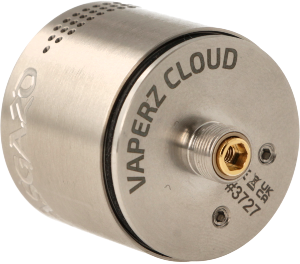
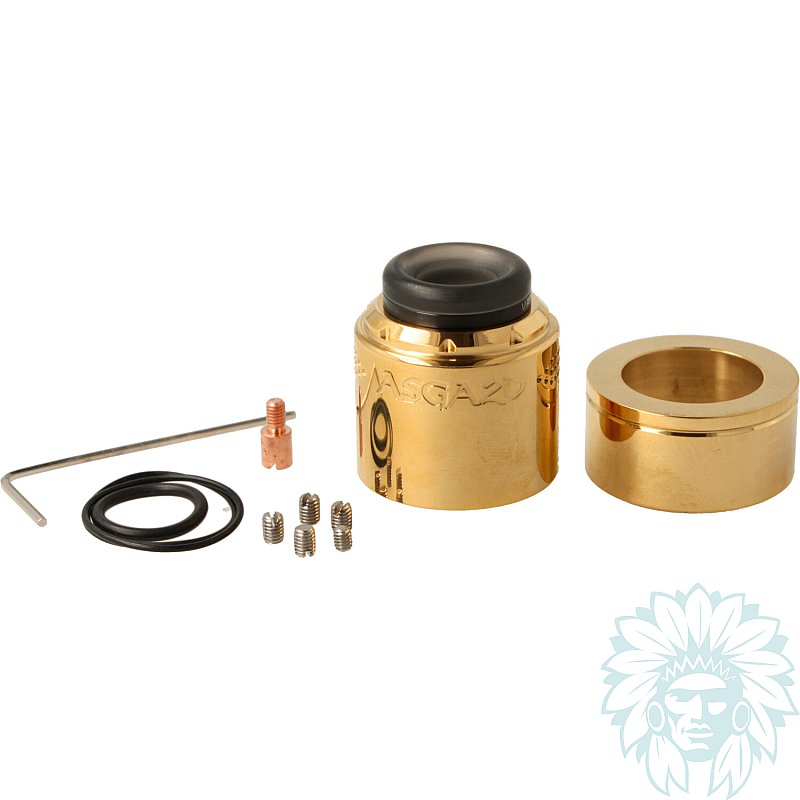
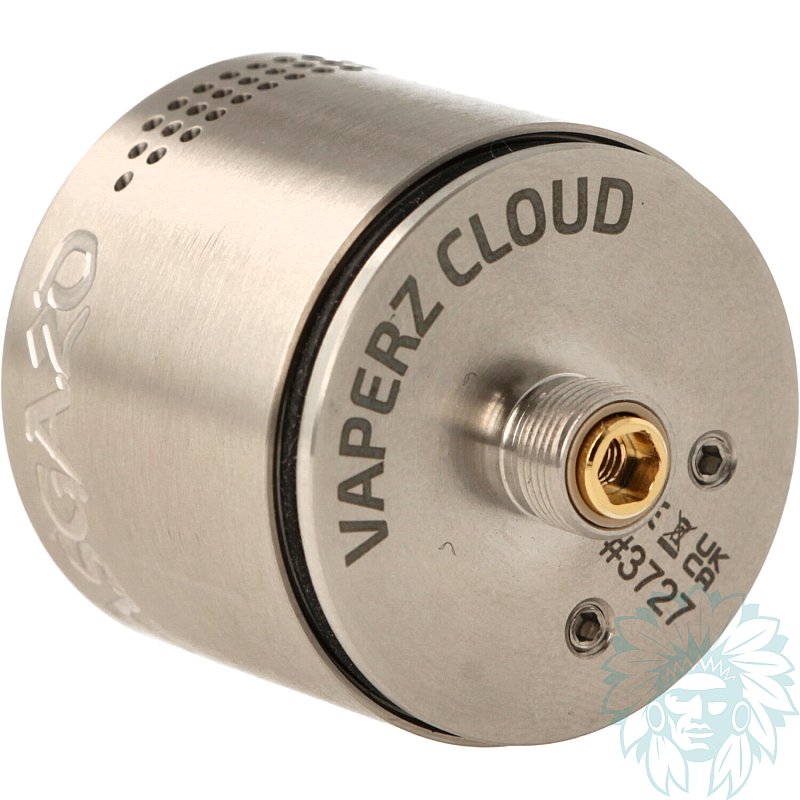
24K gold-plated 510 BF pin
It comes with a 24K gold-plated BF pin, already installed, and is also supplied with a solid copper 510 pin for users who prefer not to squonk.

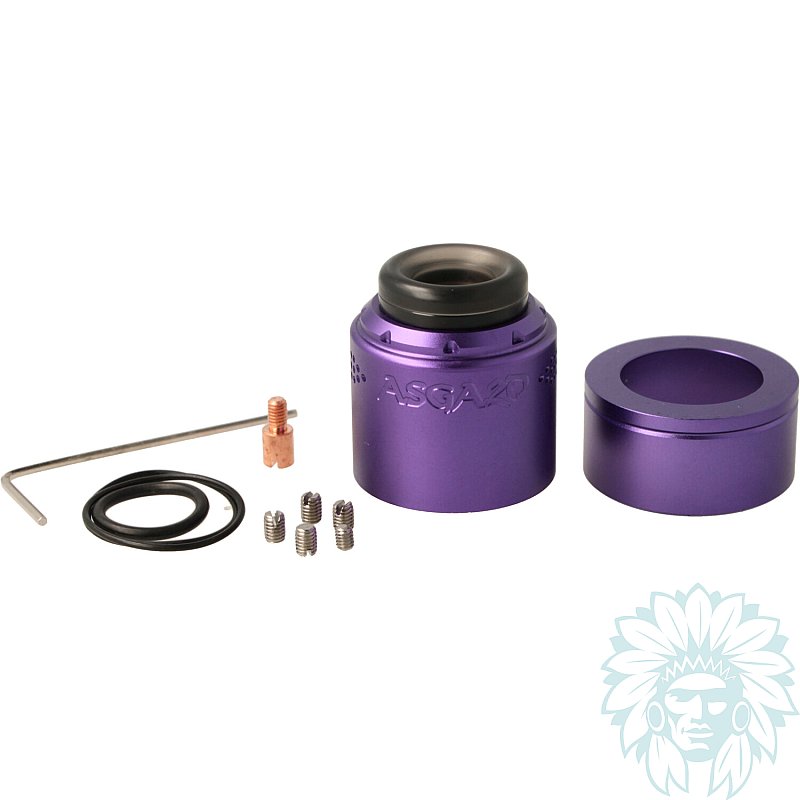
Vaperz Cloud Asgard 2 RDA complete kit
Calumette's review: This dripper, with its imposing design, will win you over with its ease of use, thanks to its large tray and extra-large tank. Ideal for powerful, full-flavoured vaping.
E-liquid not included: Complete your purchase with e-liquid.
For a first purchase, we recommend testing several different liquids, for example at least one Classic flavour and at least one fruity flavour.
Advantages
- Dual-coil assembly
- BF compatible
- Precise airflow
- Easy to assemble
- Excellent flavour reproduction
Kit contents
- 1 Vaperz Cloud Asgard 2 RDA dripper
- 1 Beauty Ring 30 mm
- 1 O-rings kit
- 1 copper 510 pin
- 1 BF pin (pre-installed)
- 1 bag of accessories
- 1 user manual
Specifications
- Length: 3.5 cm
- Diameter: 2.8 cm or 3 cm with Beauty ring
- Weight: 54 g
- Capacity: no capacity for a dripper
- BF-compatible 510 screw thread
- 810 drip tip
- Assembly: single or dual coil
- Stainless steel atomiser bell
- Compatible with coils: rebuildable coil
- Inhalation type: direct
- vapor type: airy
- vapor: cold to hot
- Percentage of VG in the liquid for optimum use: ≤ 90% Vegetable Glycerin
- Level: expert
Use
- Placing your coils:
Unscrew the base of the atomizer to access the base of the tray. Unscrew the tray screws using the screwdriver supplied.
Place your coils on the tray and tighten the screws. Carefully cut a piece of wick about 0.5 cm long and roll it so that it is placed in the centre of each coil.
Redirect the wicks to the side of each coil and trim the excess so that the cotton does not protrude from the tray. Cut the coil wires that stick out flush with the mounting studs. Soak your cotton well before closing your clearomizer. Now all you have to do is fill it up and vape!
We advise you to check the resistance in ohms of each of your coils with an ohm meter. A too low coil or a short circuit can seriously damage your equipment.
Advice
- We suggest you try several different wires and cottons to find your ideal vape. Bear in mind that the thinner the wire, the greater the resistance, and vice versa.
Related products
-
Cloud 9 cotton
 6.58 €
 5/5 - 1 reviews
-
Wotofo Xfiber Profile cotton
 3.58 €
 4/5 - 1 reviews
-
Fumytech Triple Fused Clapton Ni80 0.30 ohm coils
 Ni80 - 3 mm3.25 €
 -
Fumytech Micro Fused Clapton MTL Ni80 0.88 ohm coils
 Ni80 - 2.5 mm3.25 € 5/5 - 1 reviews
-
Fumytech Fused Clapton Ni80 0.50 ohm coils
 Ni80 - 3 mm2.92 € 5/5 - 2 reviews
-
Hellvape Fused Clapton Triple Core Prebuilt single 0.37 ohm/dual 0.17 ohm coils
 Ni80 - 3 mm4.08 € 5/5 - 3 reviews
-
Plato cutting pliers
 4.08 € 5/5 - 5 reviews
-
Ceramic-head pliers
 5.75 € 4.7/5 - 3 reviews
Reviews of Vaperz Cloud Asgard 2 RDA dripper
recommend
this product
rating
(1 reviews)
- 100% (1)
- 0% (0)
- 0% (0)
- 0% (0)
- 0% (0)
-
Mohamed M. - (Translation from French)